PERSONAL TRAINERS & COACHES
Build Your Online Coaching Business Without the Tech Headaches
You became a personal trainer to change lives, not to wrestle with tech, waste hours posting into the void, or decode what some 23-year-old “guru” means by funnel stack. At PTD Ninja, we give you the systems, support, and PT Distinction expertise to launch and scale your online business the right way.
Does This Sound Familiar?
You’re brilliant at coaching. Your clients get results. But when it comes to the “online business” part? You’re stuck, frustrated and the weeks keep slipping by.
You’re starting from scratch.
Everyone says something different: “Build a funnel.” “Start a podcast.” “Post 3x a day.”
It’s overwhelming and paralysing.
You’ve tried DIY & its not sticking.
You bought the courses, watched the YouTube tutorials and stayed up late piecing it all together.
Months later, you’re still at square one while younger trainers somehow “make it work.”
You’re sick of guru nonsense
DM 50 people a day.” “You need a £5k mentorship.”
The advice is exhausting, contradictory, and designed to keep you dependent.
If you’ve nodded along to any of this, you’re exactly who we built PTD Ninja for.
Why PTDNinja Is Different
Systems > Hustle
We don’t sell hype or motivation. We give you proven, step-by-step systems that work for real trainers with real lives.

PT Distinction Specialists
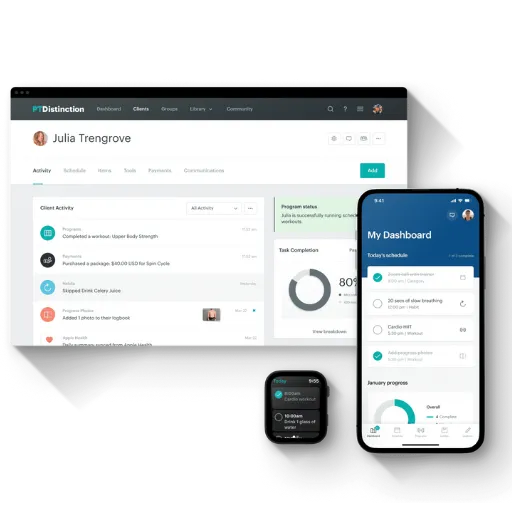
We’re the leading experts in PT Distinction — the best coaching software for trainers. We’ll help you master every feature so your business runs like clockwork.

No Pressure, No BS
Clear pricing. No fake scarcity. No hidden fees. You’re a business owner, and we treat you like one. Make decisions on your terms.

Three Paths, Same Destination
Whether you want to learn by yourself, get lifetime support, or have us build it for you — you’ll end up with a professional online coaching business that works.
The COURSE
£395
Self Lead Course
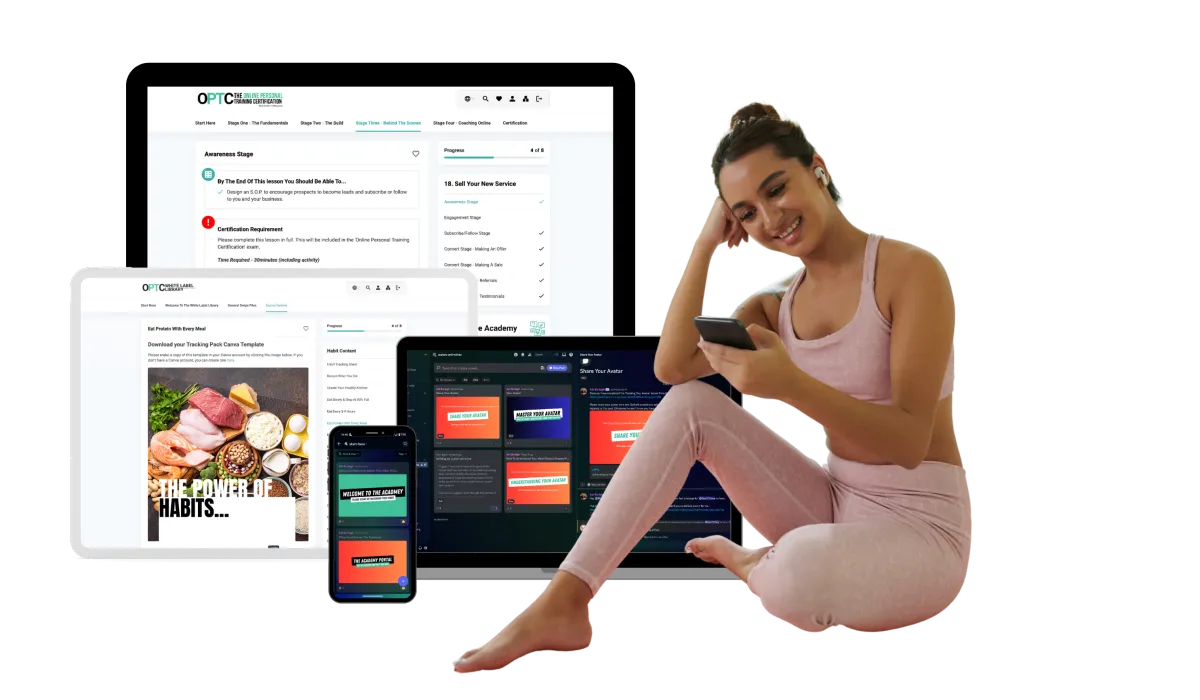
DIY, self-paced training. Learn the exact systems used by 1,000+ trainers to build, launch, and grow online.
Master PT Distinction and use it to deliver coaching like a pro.
Launch with confidence using proven funnels, onboarding, and delivery systems.
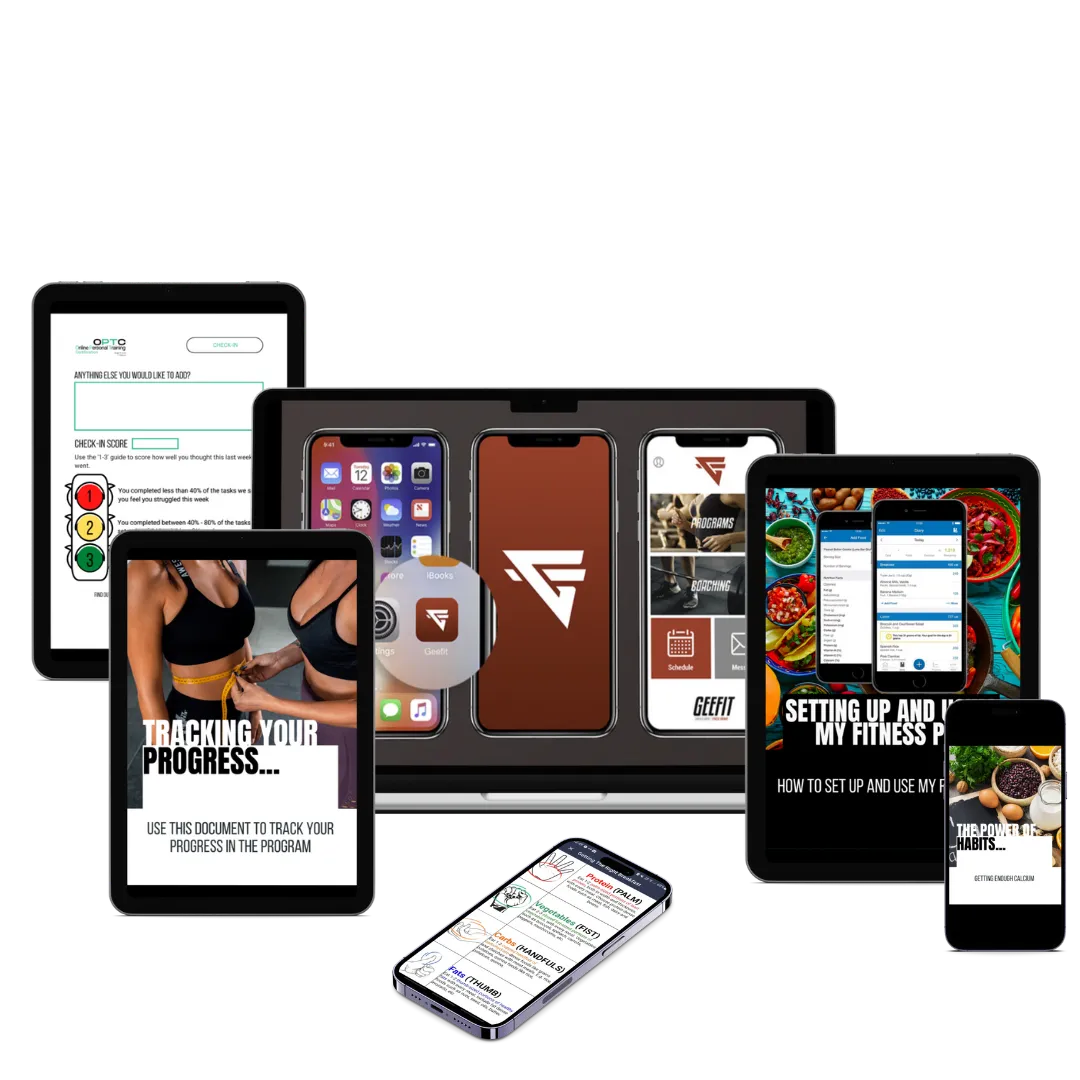
Plug'n'play' templates, resources, and coaching content all ready to be used.
Lifetime access to the material and updates
Optional workbook + exam → certification as a Certified Online Personal Trainer
Best for self-starters who want the playbook and prefer to DIY at their own pace.

One Time Payment, Lifetime Access & Support
The Academy
£997
DIY with lifetime support
Everything in the Course plus...
Weekly group coaching calls with lifetime access
lifetime access to our Academy community
Weekly Check-ins & Goal setting to keep you on track
Submit your course material for feedback and improvements
Ask questions and get support as your business grows with coaching calls & expert guidance for life!
Perfect for trainers who want to learn, stay hands-on, and build a business they fully understand and control.

One Time Payment, Lifetime Access & Support
The Ultimate dfy
£1997
Done For You Service + Course & Academy
Everything in the Course & Academy plus...
We build your complete online coaching business for you.
Sales/sign-up pages all built for you
Custom PT Distinction setup with programs, automations, onboarding flows, and more
Everything is custom-branded and ready to launch.
Skip months of tech stress and go live in weeks instead.
Still get lifetime Academy access, weekly calls, and ongoing support.
Perfect for trainers who value speed and clarity, and want to focus on coaching clients instead of fighting with tech.

One Time Payment, Lifetime Access & Support
Real Trainers. Real Results.
“These aren’t cherry-picked unicorns. they’re regular trainers who followed the system.”

I already feel incredibly supported
It’s only been a week since I joined the PTD Ninja course, but I already feel incredibly supported. Every question I’ve had so far has been answered quickly and clearly The team genuinely cares, and that makes a big difference when you’re trying to build something as important as your coaching business.” -Kevin.


Best Mentorship I've Been A Part Of
Not even a week into the 'Done For You' course and the level of support has already surpassed any mentorship I have previously undertaken. If you're considering jumping onboard with PTD Ninja, don't wait around like I did. They're always happy to speak to you on a call if you'd like to find out more about growing your online personal training business” - Samuel Manson.


Having tried MANY online PT courses...
Having tried MANY online PT courses, I was a little bit apprehensive about joining another one…but...I didn’t need to be! I can already see a clear pathway to what I want to achieve with my business.
Recommended!" - Scott Richardson


"I am so glad i invested in PTD Ninja Done For you Package & Online PT Course. So professionally put together and has made my life easier in allowing me to get on with coaching whilst continually learning and growing.
The Academy and Masterclasses have been great to get one to one advice and assistance." - Angela Macleod


One of the best decisions I've made for my business
These guys are awesome! I had so many ideas about what I wanted to create for my online coaching business - but I didn't know how to make it flow in a way that created an amazing experience for my clients. Ash showed me exactly how to make that happen AND did all the heavy lifting behind the scenes. I now have an automated signature coaching program that allows me to spend my time doing what I do best - coach!" - Lisa Swanson


The customer service is unparalleled. Plus, working with experienced fitness professionals who understand the industry was a very rewarding experience. Launching an online personal training business can be difficult but the Ninja team certainly made it easier for me." - Judd NeSmith

Our Lifetime Partnership Promise
When you join PTD Ninja, you’re not left on your own after setup. You get lifetime access to the Academy, weekly coaching calls, and our support community. That means whether you need help in 90 days, 9 months, or 9 years, we’ll still be here.
Because we’re not interested in quick wins. We’re here to help you build a business that lasts.

Which Service Is Right For You?
*We will integrate into your existing website or funnel builder. If you don't have a website or funnel, you can sign up for one after purchasing, OR we can help you build a full website for an extra fee, OR we can use PT Distinction's mini site and create branded offer docs using Canva for you to use to sell your services.
**We can only work within the limits of your payment systems, and to make some systems work, other third-party cart or automation services may need to be purchased at your expense, or you may need to use another payment system. Due to the secure nature of most payment systems, there will be some parts of the connection and setup process that will require steps to be completed by you.
***Branding will be added when possible. Branding and website integrations in PT Distinction require a Pro or above subscription. Email branding will be limited to emails sent via the PT Distinction software; website branding will be limited to the website or funnel builder you use.
****Weekly support calls are offered 2 times per week over a total of 46 weeks during the year. These calls are run by Ash directly, but are sometimes covered by other team members. Times and days will vary and are changed at regular intervals to account for the different time zones.
† Optional extras can be selected during the onboarding process or can be purchased in the future. These are only available to Ultimate DFY clients
Frequently Asked Questions
Do I need to be “tech savvy” to make this work?
Nope. Most of our clients are not tech people. That’s why we exist. Whether you choose Academy or Ultimate, we’ll walk you through step-by-step (or build it all for you).
What’s the difference between the Academy and the Ultimate?
All three options teach you how to build a professional online coaching business — the difference is how much support and setup you want.
The Course (£395) → DIY, self-paced training.
Learn everything step-by-step through our Online Personal Training Course (OPTC). You get lifetime access to the content and updates but no direct support.
The Academy (£997) → DIY with lifetime support.
Includes the entire Course plus group coaching calls, feedback, community
The Ultimate (£1,997) → Done For You + Academy + Course.
We build everything for you — PT Distinction setup, automations, funnels, sales pages, payments, and onboarding — and you still get lifetime access to the Academy and Course for ongoing support.
Are there any ongoing fees?
No. One-off payment only. You’ll never get surprise invoices from us. (You’ll just need a PT Distinction account, which is separate and paid directly to them.)
Is this just for new trainers?
Not at all. We work with brand-new coaches, experienced trainers moving online, and even gym owners who want hybrid models. The systems adapt to you.
What if I get stuck after joining?
That’s completely normal — building a business always comes with questions.
If you’re in The Academy or The Ultimate, you’ll have lifetime access to our private community, weekly group calls, and priority email/Loom support.
If you’re on The Course, you can still reach out through our support email for quick guidance or upgrade to the Academy anytime for hands-on help.
Either way, you’re never left alone staring at your screen wondering what to do next.
Do you offer refunds?
No. This is a B2B service, not a consumer product. Instead of refunds, we give you lifetime access and support so you get what you paid for (and more).
How fast can I launch?
he Online Personal Training Course (OPTC) includes 4 stages, 25 modules, and over 70 lessons — roughly 40 hours of learning and activities.
Most coaches complete it over 6–12 weeks while running their businesses, but there’s no expiry or rush.
For the Done For You side of the Ultimate : you can go live in few weeks, not months, because we build it for you.
Can I upgrade later?
Yes. Many coaches start with Academy and later upgrade to Ultimate when they’re ready to hand the build over to us, we discount you the what you paid for the Academy too.
What currency are prices shown in?
All prices are in UK £ GBP. If you’re outside the UK, your bank or payment provider will handle the conversion. Rates vary daily, so the exact amount in your currency may differ slightly. Prices include tax's when applicable.
What about the PT Distinction Masterclasses?
You’ll get access to the free PT Distinction Masterclasses too. These are funded by PT Distinction themselves and are available to all PTD users. What makes PTD Ninja different is that we provide custom systems, coaching, and lifetime support alongside those resources.
Are you PT Distinction?
No, we’re not PT Distinction. We’re an independent company that specialises in helping trainers build businesses using PT Distinction. Think of us as the systems experts who make sure you get the most out of it.
What is PTD Ninja?
PTD Ninja helps personal trainers build, launch, and grow their online coaching businesses with PT Distinction.
How does PTD Ninja work?
You choose between the Academy (£997, DIY with support) or the Ultimate (£1,997, Done For You build plus Academy). Both include lifetime support.
Who is PTD Ninja for?
Trainers who feel stuck, overwhelmed, or confused about moving their business online — whether new, experienced, or hybrid coaches.
How much does PTD Ninja cost?
Course is £395 one-off payment. Academy is £997 one-off. Ultimate is £1,997 one-off. All pricing is in UK £; international buyers will see currency conversion.
What makes PTD Ninja different?
Clear systems, PT Distinction expertise, transparent pricing, and lifetime support — no fluff, no fake scarcity.
Do you offer payment plans?
No, all services are single one off payments and include lifetime access. All services are B2B and do not offer any credit options or installment plans. If you decided to arrange credit from a third party to pay for these services you are responsible for the payments and regardless of how the funding is source, this service remains a B2B service and consumer rights do not apply.

Innovation
Fresh, creative solutions.

Integrity
Honesty and transparency.

Excellence
High quantity services.

FOLLOW US
COMPANY
Company No: 13986587.
VAT Number: GB 407642405
LEGAL
Copyright 2025. PTDNinja Ltd. All Rights Reserved.